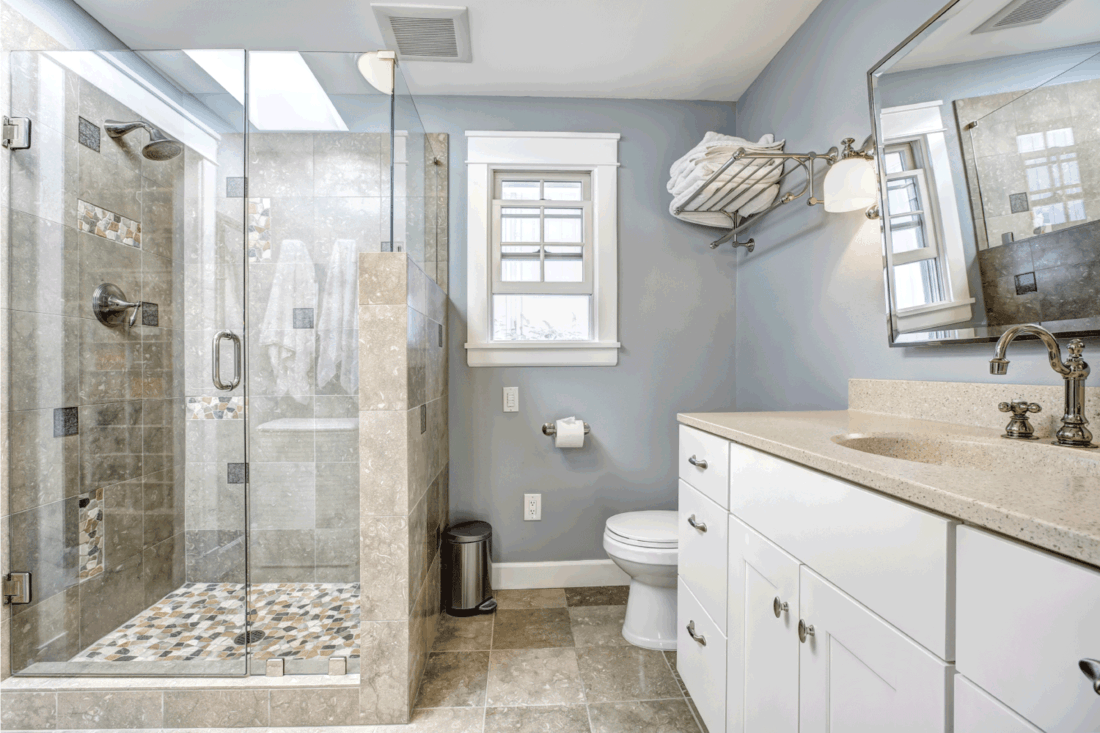
Do the builder-grade cabinets in your bathroom need a makeover? Are you unsure how to go about painting them? If so, you’ve come to the right place. We’ve researched the best methods for painting these cabinets, and in this post, we will share them with you.
Builder-grade products are typically not the highest quality products. The reason is that they are usually made from inexpensive, low-level materials and finishes that are readily available by manufacturing companies. This usually includes cabinets made of MDF, plywood, veneer, or laminated wood.
Here are the steps to paint builder-grade cabinets:
- Remove contents from the cabinets
- Remove cabinet hardware and drawers
- Clean the cabinets
- Patch and sand the cabinets
- Apply painters tape
- Apply a shellac primer
- Apply a latex paint
You can breathe new life into outdated wooden builder-grade cabinets by repainting them. Depending on the size of your cabinet, you can have them repainted within two to four hours. Continue reading to learn the steps to re-paint your cabinets.
Steps To Paint Builder-Grade Bathroom Cabinets
Whether this is your first time or fifth time painting cabinets, it helps to know the best steps to paint builder-grade cabinets specifically, as they may be more susceptible to issues with bubbling and peeling. Continue reading to learn how this straightforward DIY project can be completed quickly and effectively.
Things you’ll need:
- Drop cloths
- 2-gallon bucket
- Painter’s tape
- Handyman gloves
- Tack cloth
- Dust mask
- All-purpose cleaner
- Shellac primer
- Sandpaper
- Paint roller
- Enamel or latex paint
- Paintbrush
1. Remove contents from the cabinets
Before doing anything, you’ll need to clean out the cabinets of all personal items and set them aside. This includes any soaps, shampoos, bath towels, creams, and other grooming products. Next, place a drop cloth on the floor around the cabinets making sure to set it right against the bottom of the cabinet without touching it. It’s best to use painter’s tape to tape it to the floor so that it won’t move once you start painting the bottom of the cabinet.

Check out this painters tape at Amazon.
2. Remove cabinet hardware & drawers
Next, remove any hardware attached to the cabinets, such as knobs, handles, or other ornaments that you don’t want to paint. If these ornaments can’t be removed, cover them up with painter’s tape making sure to line them up perfectly so that you can paint the cabinet area around them. Then, remove any drawers and drawer fronts from the cabinets, if possible. It’s typically easier to paint these pieces separately from the cabinets.

Read more about this drill on Amazon.
3. Clean the cabinets
After you’ve taken the cabinet apart and remove everything from the interior, take your all-purpose cleaner and add it to your two-gallon bucket. Next, fill the bucket with warm water and use your tack cloth to go over the cabinet. Keep in mind that builder-grade cabinets may not hold up well to water, so it’s especially important to make sure that your cleaning cloth is wrung out before wiping the cabinets down, as too much water can cause buckling and peeling.

Buy a 2-gallon bucket on Amazon.
4. Patch and sand the cabinets
Next, take a good look at the entire cabinet area and check for any dents, holes, or deep scratches that may need repair. Pay special attention to the bottom interior of the cabinets, as this is where the most damage can occur. Also, check for any peeling. If you find any extremely damaged areas, it may be wise not to paint the cabinet but to it replace it instead.
Repair any damaged areas with wood putty and use your spackle to smooth it over. Let the putty dry for the recommended drying time, and then sand it down using 220-grit sandpaper. Wipe up any dust with your tack cloth.

Learn more about this sandpaper set on Amazon.
5. Apply painters tape
Take your painter’s tape and apply it to the perimeters around the cabinet. Make sure to line it up evenly along the bottom of the countertop so that you’re able to paint the edges of the top edges cabinet without painting the bottom of the countertop.
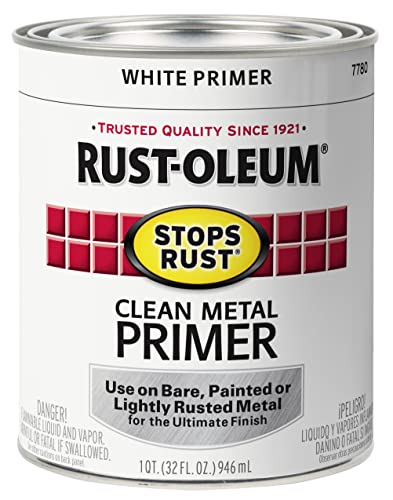
6. Apply a shellac primer
Applying shellac or oil-based primer to the cabinets will help the paint adhere better. Builder-grade cabinets may not have the best adhesion capability, so a primer is typically necessary. Start by applying the primer to the exterior of the cabinets and then work your way to the interior. If you have removed any doors on the cabinets, place them on a sawhorse or workbench to paint them individually.
Also, if the cabinets are long, first paint the corners using your paintbrush and then follow up with your paint roller for more efficiency. After you apply each coat of primer, let it dry, and then lightly sand the area a bit. Be sure to wipe down the cabinets with your tack cloth to remove any sanding dust.

Check out this shellac primer on Amazon.
7. Apply a latex paint
Latex paints work great on builder-grade cabinets as they dry relatively quickly. However, you can also use and oil-based paint, though it will typically take longer to dry. Next, grab your paint and gently agitate it or mix it with a paint stick. Next, apply the paint using your paintbrush, making sure to use then even strokes across the length of the cabinetry and doors.
It’s best to start on the exterior of the cabinets and then work your way to the interior. If you have removed any of the cabinet doors and drawers, paint these parts last. Most paints will dry anywhere from two to eight hours, so make sure to leave the painter’s tape on during this time. Once the cabinets have dried, remove the tables and replace any removed hardware, drawers, and doors.
How Do You Update Builder-Grade Cabinets?
There are quite a few ways that you can update builder-grade cabinets. Let’s look at a few common ones.
Paint the cabinets
Painting the cabinets can give them a completely new look, especially if they’re worn or outdated. Remember that the most important part of any paint job is the prep work, including sanding and applying primer. It’s best to make sure that you have a quality primer and when painting the cabinets.
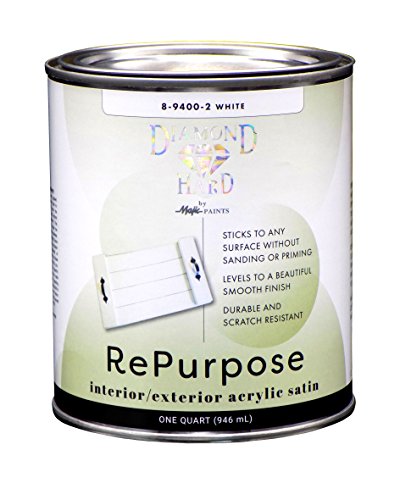
Check out this wood paint on Amazon.
Install new hardware
If your builder-grade cabinet came without any hardware, which is common, consider installing new pieces around the cabinetry. Think of any stylish or modern designs that you may want to add to your room. Decorations such as metal emblems and etched or colored glass can help to make the cabinets pop.
Add Wallpaper
Don’t feel like painting the cabinets? Consider installing wallpaper instead. If you find that your cabinets aren’t ideal for a new paint job, consider purchasing a few rolls of wallpaper and covering them up. This way, you won’t have to go through the laborious project of painting the cabinet, and you get a new look.
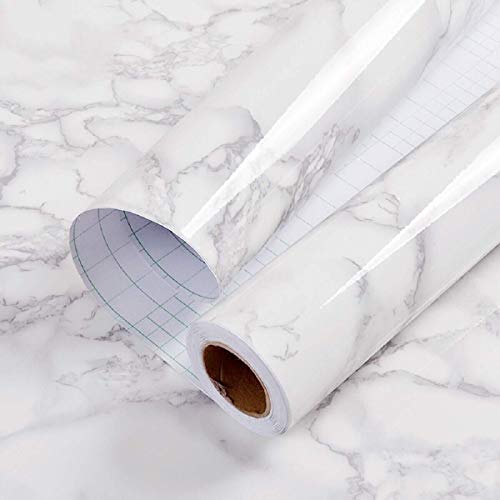
Learn more about this wallpaper on Amazon.
What Kind Of Paint Do You Use For Bathroom Cabinets?
It depends on the cabinet. However, for builder-grade cabinets, latex or enamel-based paints may be best because they dry faster and leave a solid coating on top of the wood to protect it from damage. But you can use oil-based paint. However, it will take longer to dry.
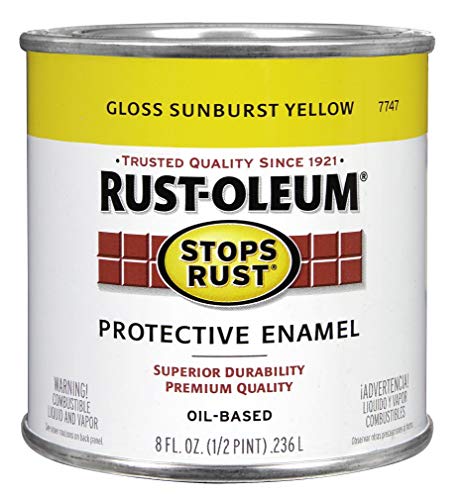
Check out this oil-based paint on Amazon.
Should You Roll Or Brush Bathroom Cabinets?
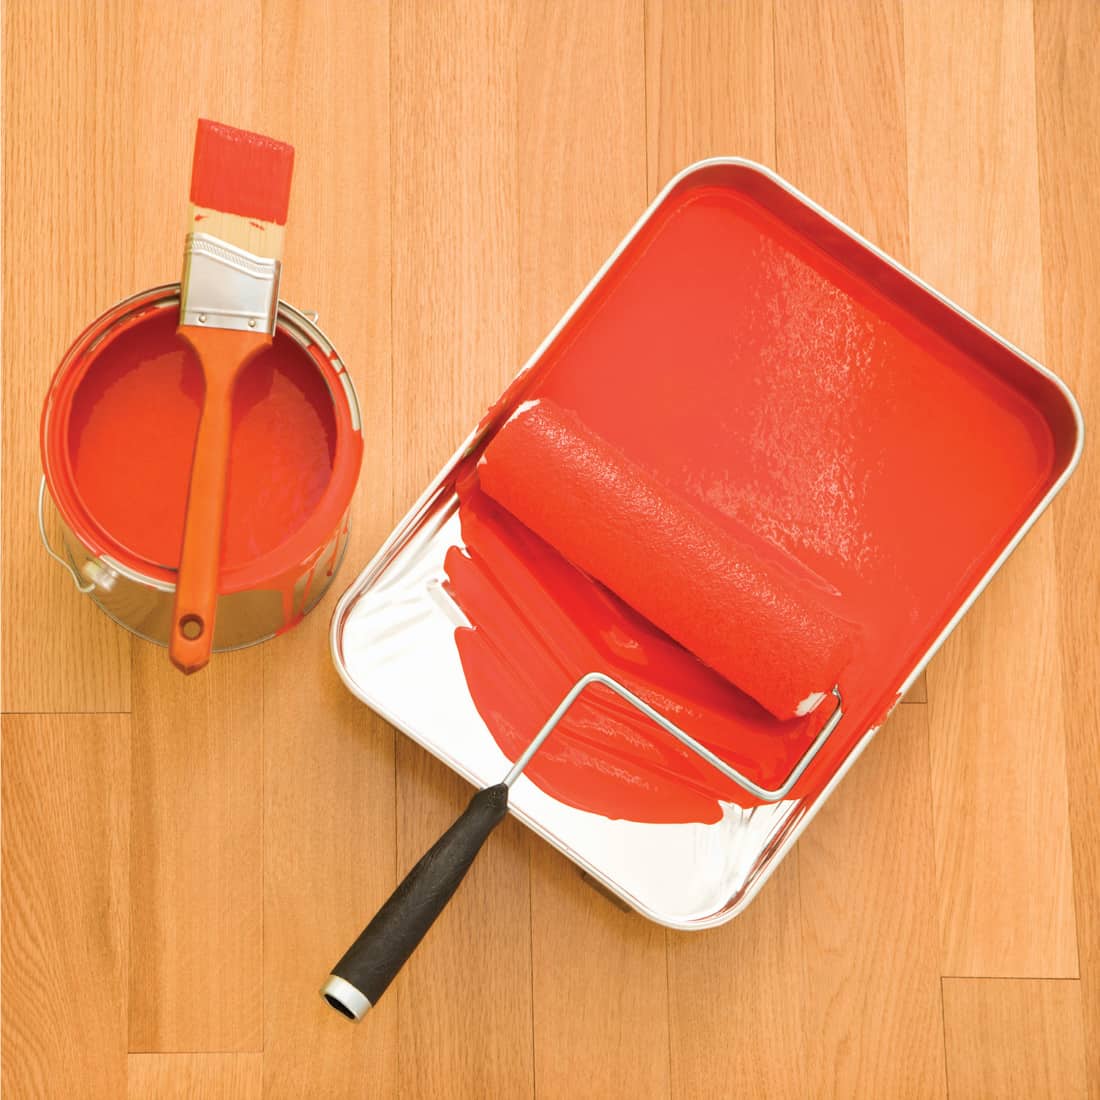
This depends on the size of the cabinet. Typically it’ll be easier to use a straight and angled brush to get around the corners and tight edges of the cabinet. However, if your cabinets are particularly long, using a roller in addition to a paintbrush may be ideal.
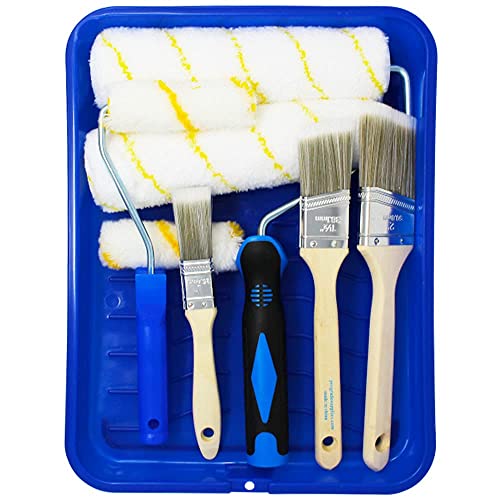
Have a look at this paint roller on Amazon.
What Happens If You Don’t Sand Cabinets Before Painting?
Sanding cabinets before painting them isn’t necessarily a requirement. However, if the cabinets are building-grade, meaning they’re made from MDF, veneer, or particleboard, sanding will help create better adhesion for the primer and paint. However, if you use enamel or shellac-based primer, you can go without sanding them.
Check out this enamel primer on Amazon.
What Are Most Builder-Grade Cabinets Made Of?
Most builder-grade cabinets are made of inexpensive wood products such as particleboard, plywood, MDF, and plastic veneer or composite.
Wrapping Things Up
We hope that this post has helped illustrate how to paint builder-grade bathroom cabinets. Remember, builder-grade cabinets will typically require sanding or a quality primer for the best paint adhesion.